We love finding activities that are fun and educational. Courtney is always excited about a new project. They usually stimulate her curiosity about how things work. This (affiliate link) 4M Crystal Growing Experimental Kit was no exception! A few dozen questions later, and we were ready to get started.
The first order of business for Courtney was to pick her crystal colors. There were many choices including clear, blue, red, and several in between options. While she debated the pros and cons of the color options, I started to prep the area. Since it was hot and raining outside, I chose to work in the kitchen.
First, I took some plastic wrap and laid it down to protect the counter top. I overlapped the edges by an inch or two so it would seal and prevent anything from getting passed my improvised barrier. I did not want to take the chance of getting any of the chemicals, especially the colored ones, on the counter.
Next, we unpacked all of the continents and read the instructions. Courtney decided she needed goggles from her toolbox and a pair of disposable rubber gloves. Once dressed in her mad scientist outfit, she announced that we would make light blue crystals!
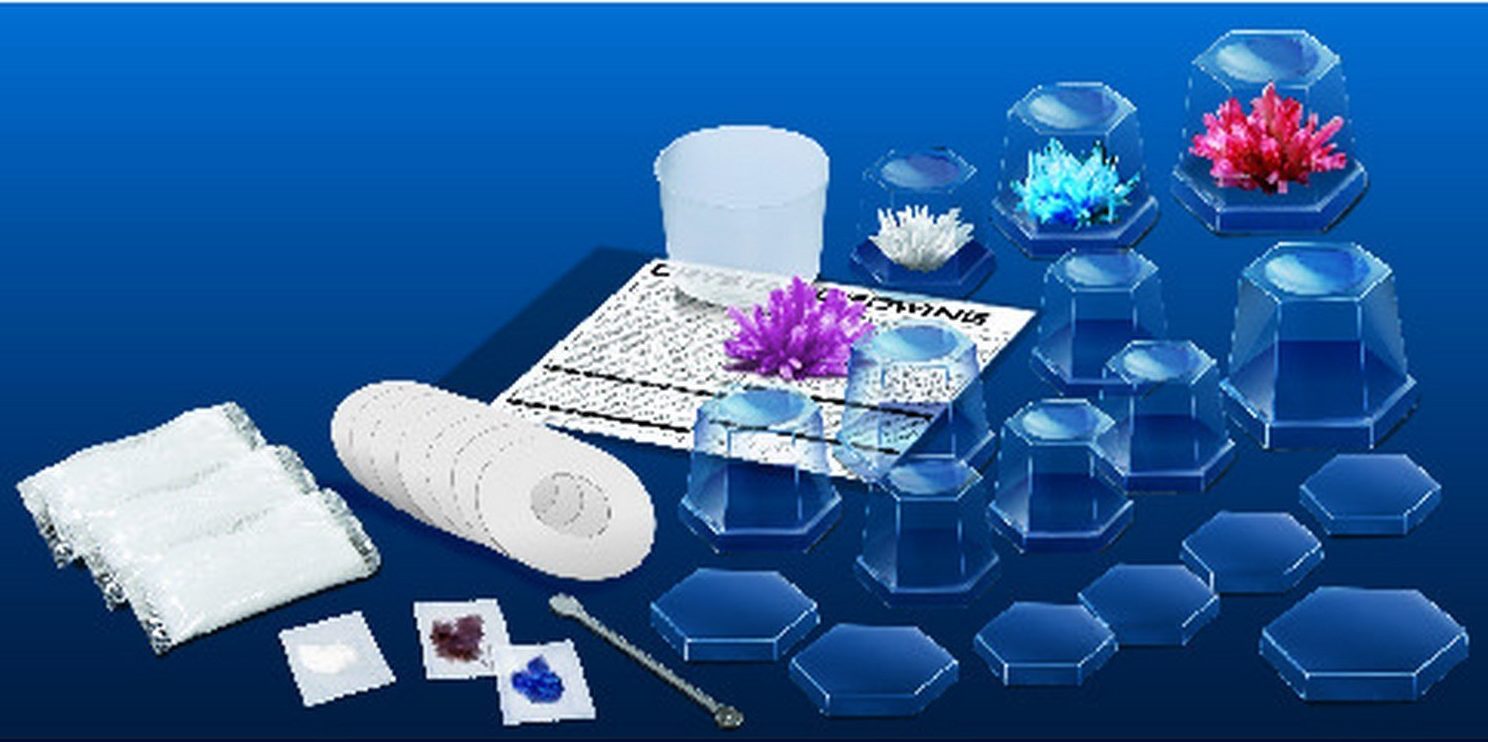
We measured out the water and heated it up until it boiled. I poured it into the supplied plastic container. Courtney held the 30mm ruler (printed on the first image in the instructions) up to the container so I knew when to stop. She then added the large bag of white base compound and stirred like mad while making sinister Mua-ha-ha-ha sounds!
Once it was all dissolved, we had to wait for it to cool down until the liquid was only warm. We then used the color-mixing table from the instructions to identify the correct amount and colors to seed the base mixture. They include a measuring spoon, which Courtney decided would need cleaned after our experiment so she could use it for her dolls. Since we were going for light blue, Courtney added one spoonful of blue and three of white. She did a great job of gently sprinkling them over the surface of the base solution, but she had to fight the urge to stir it. She had me point out in the instructions where it said “DO NOT STIR THE SOLUTION” just to make sure we doing it right.
At this stage, you are trying not to disturb the mixture. The instructions say it needs to remain undisturbed for at least 15 hours to allow the crystals to start growing. The total growth time can be from four to seven days or even longer depending on the conditions (temp/humidity). With that in mind, and our desire to photograph it along the way, we picked a nice spot on an out of the way table. We put plastic wrap down again just to make sure our surface was protected. In a careful procession (think exaggerated sneaky walk), we move our container from the kitchen to the table. We set up the camera and then the microwave timer for two hours.
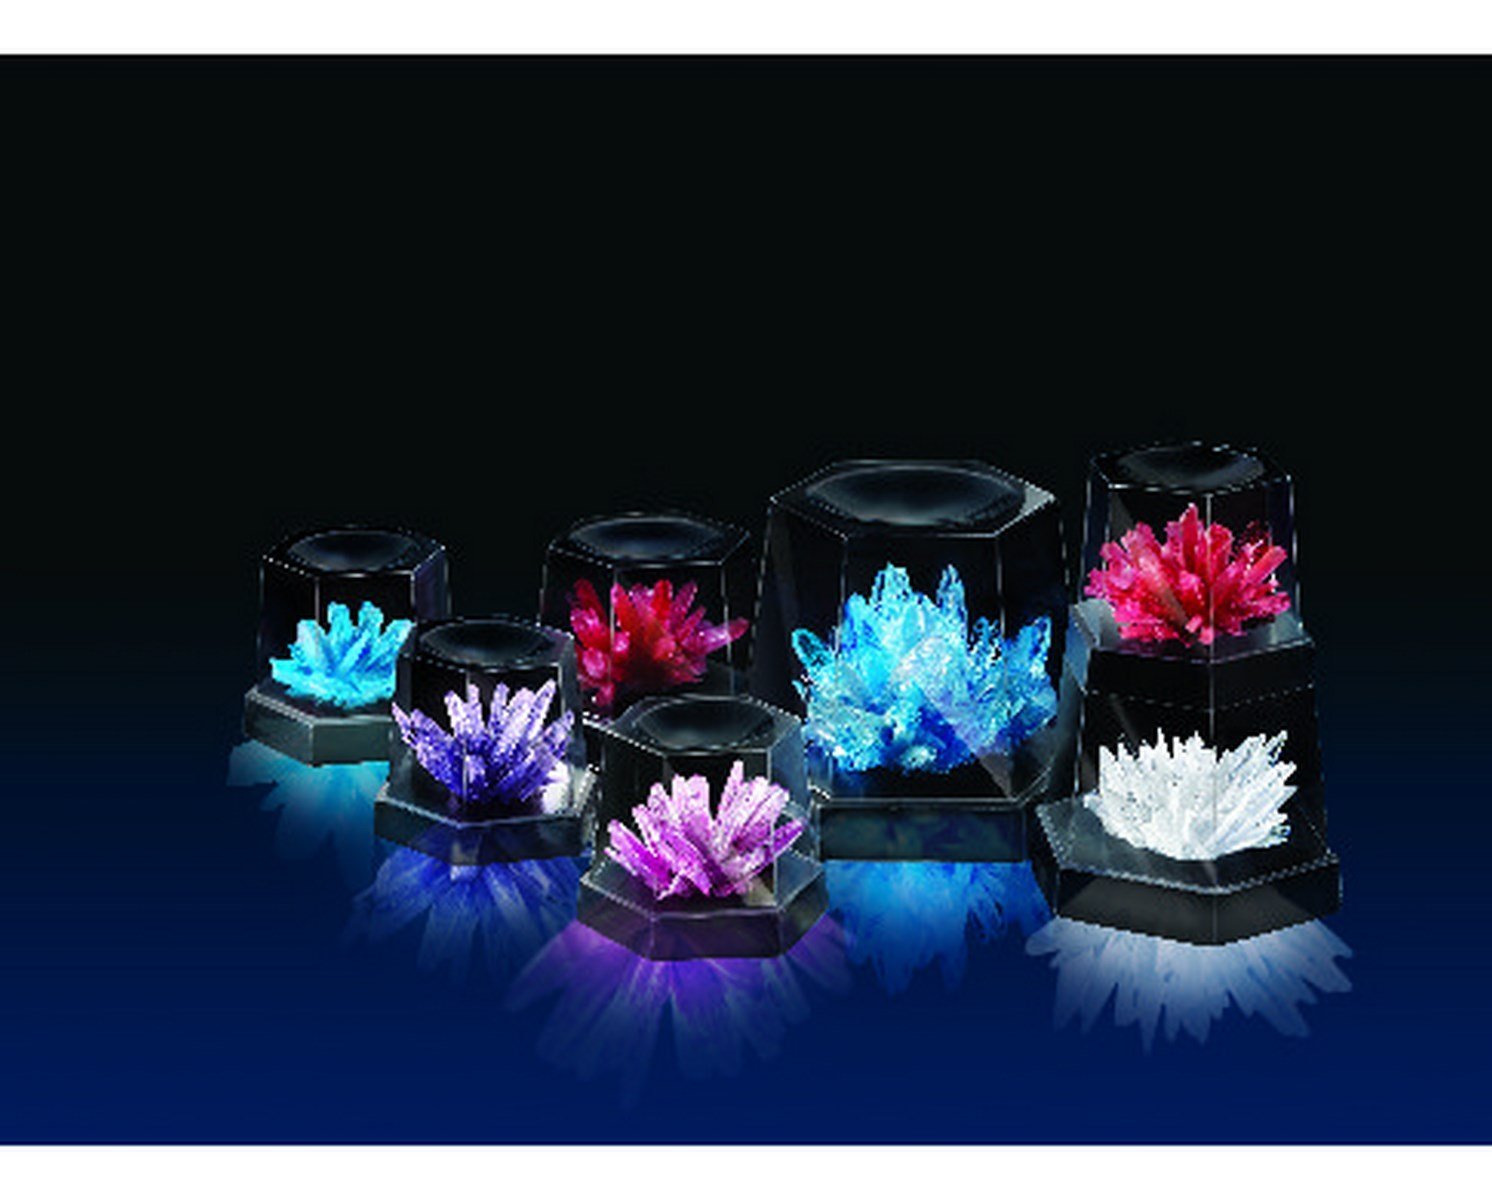
At about 10 hours, we saw our first crystal. If you were in the next room, you might have thought Courtney had just found gold! It was great fun watching over the next several days as new crystals formed and old crystals grew and grew. We let them go a bit longer than we needed to…because Courtney did not want the fun to end. She enjoyed shining the flashlight into the container to see her crystals in a different light and make them look like they were glowing.
When it came time to end our experiment, we poured off the liquid and gave the crystals a quick rinse. After a bit of air time, they were dried and ready for the lid. They now hold a coveted position on Courtney’s bookcase. She still uses her flashlight to give them a special glow.

Leave a Reply